Acrylic Paint for Photorealism
Acrylic paint is without a doubt the all-important ingredient in creating a photorealistic acrylic painting! How do you know which type of acrylic paint is best, and which brand to choose? On this page, we'll discuss the best brands of acrylic paint for photorealism.
If you want to learn how to paint photo realism, these articles will guide you step-by-step through the process of photorealist painting with acrylics. The first step is to gather all the essential materials. Here is a list of art supplies that you will need:
art supplies for painting photorealism
acrylic medium such as: glazing liquid or retarder
paint brushes of various sizes
surface - canvas, wood, paper, etc
I've provided links below to the relevant products so that you can easily find them on Blick Art Materials, my favorite online art supplier. I'm a member of Blick's affiliate program, which means if you make a purchase after clicking on one of these links, I'll receive a small commission (at no extra cost to you). Your purchase helps support this site and keeps it free of ads. Click here for more info.
I primarily use both Golden Heavy Body Acrylics and Liquitex Heavy Body Acrylics for my artwork. The "heavy body" means that the paints have a thick, buttery consistency, which means they offer great coverage and opacity. I have also used Winsor & Newton's Artists' Acrylics, which also worked well. I haven't used them with the same frequency as I've used Liquitex or Golden acrylic paint, so I can't recommend them as strongly, but they are certainly worth a try.

The paints come in 2 oz tubes and 4 oz tubes or jars. Depending on how large or small you work, the tubes will probably last quite a while. There are some tubes that I've had for years! The colors you will use most are Titanium White and Ivory Black, so you might want to get a larger size tube for those colors.
Colors to get: The main colors you will want to have on hand are: Titanium White, Titanium Buff, Cadmium Yellow, Cadmium Red Medium, Phthalo Green (Yellow Shade), Phthalo Blue (Red Shade), Alizarin Crimson, Dioxazine Purple, Burnt Sienna, Raw Umber, and Ivory Black.
The other colors you need will depend on the subject matter of your painting. For instance, if you want to paint money, pick up a tube of Chromium Oxide Green. If you need a good, strong pink to paint the frosting of a cupcake, go for Quinacidrone Red.
It's important to understand that you don't need to buy heaps of different colors. It can be tempting, but only buy colors if you know you'll use them. Most of the colors you need can be mixed using the acrylic paint you already have. If you are trying to achieve a certain color, always mix what you've got first. If the results aren't what you need, then go out and buy that spiffy new color!
Be sure to stay away from the Student quality acrylic paint, because those usually contain more filler and less pigment, which means the paint coverage and consistency is not as strong. They're okay for learning and experimenting, as they are cheaper than the Heavy Body acrylic paint, but you do get what you pay for. If you want to make a serious photorealist painting, save yourself any potential frustration and disappointment with the materials by going for the quality paints!
There is also a product worth mentioning called Golden Open Acrylics. I have not tried these yet myself, but will do so in the near future. From the sound of it, they should be really excellent for photorealist painting in acrylics. The biggest frustration with painting photorealistically in acrylics is that the paints dry too quickly. This quick drying time makes it difficult to blend colors easily, the way you can with oils. (Quick drying can be a blessing and a curse - more on that later.) These new Golden Open Acrylics stay wet longer, offering a longer drying time. This should allow more time for blending, which is important in photorealism for creating realistic shadows and highlights. These acrylics should also lend themselves well to softening and glazing, other important techniques in photorealism painting. The prices of Golden Open Acrylics are only slightly more expensive than Golden Heavy Body Artist Acrylics, so I would recommend buying a few to give it a try.
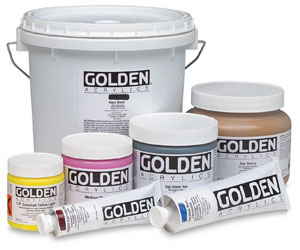
Golden Heavy Body Artist Acrylics
Golden is one of my favorite brands for painting photorealistically. Golden's acrylic paint has a wonderfully smooth, thick consistency, and works well with acrylic mediums. It also has excellent permanency and lightfastness. Golden Heavy Body Artist Acrylics are also available in 2 oz , 5 oz , 8 oz , 16 oz , 32 oz , and 128 oz tubes and jars. They also sell them in sets.
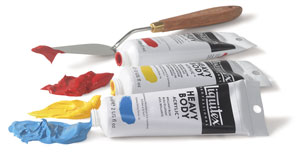
Liquitex Heavy Body Acrylics
Liquitex Heavy Body Acrylics are excellent for painting photorealistically. They have a thick, buttery consistency. This set contains 12 colors in 2 oz tubes, including Quinacridone Magenta, Cadmium Red Light Hue, Dioxazine Purple, Ivory Black, Phthalo Blue, Phthalo Green, Emerald Green, Bronze Yellow, Brilliant Blue, Cadmium Yellow Medium Hue, and 2 tubes of Titanium White. They also sell them in individual tubes and jars in a variety of sizes.
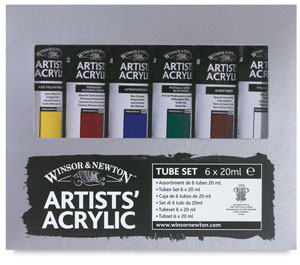
Winsor & Newton Artists' Acrylics
Winsor & Newton Artists' Acrylics is one of the brands I use for my photorealist paintings. They come in a wide color spectrum with excellent brilliance and intensity of color. Finity Acrylics have really good covering power. Winsor & Newton Finity Acrylics come in a range of 75 colors. They are also sold in a variety of sizes and in sets.
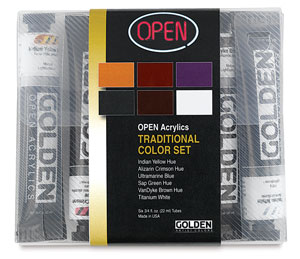
Golden Open Acrylics
Golden Open Acrylics are designed to stay workable (wet) longer than other acrylics, which can be a great advantage when working photorealistically. This allows for softening, shading, glazing, and creating fine detail - all really important elements in photorealist painting! This is also great for when you mix your own colors, as they will stay wet longer... which means less worry about dried paint!
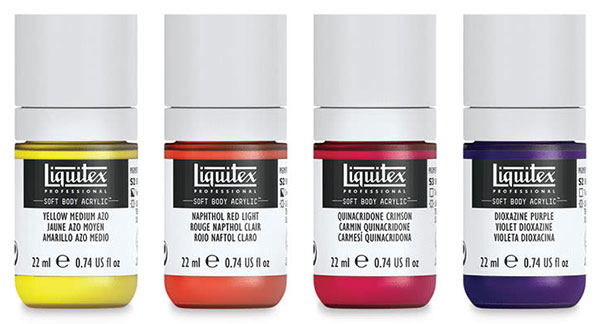
Soft Body vs. Heavy Body
When I first started painting with acrylics over 2 decades ago, I purchased Heavy Body acrylics, so those are the paints I used when I started to experiment with painting photorealistically. When thinned with Golden Acrylic Glazing Liquid (as discussed in the next article), the paint works wonderfully for creating subtle glazes. At the time I didn’t know much about Soft Body acrylics, but as I learned more about them it dawned on me that Soft Body would be a logical option for painting photorealistically because the pigment is just as strong as in the Heavy Body—the paint just has a thinner, more fluid consistency. In this article I’ve recommended the brands of Heavy Body paint that I’ve used to create my photorealistic paintings like the one below, but I feel it’s definitely worth mentioning that you might also want to experiment with Soft Body acrylics. In fact, when my tubes of Heavy Body acrylics run out I’m going to experiment with using Soft Body acrylics to paint photorealistically, and I’ll be sure to report back when I do!

Yellow-Orange, 5” x 7” Acrylic on Wood Panel, Painting by Thaneeya McArdle
This is Page 1 of a 15-page guide explaining how to paint photorealistically.
This page covers the all-important ingredient in a painting: paint. If you're unsure about whether you want to pursue acrylics, read more about the characteristics of acrylic paint.

read more...
Return to the beginning of How to Paint Photo realism: A Step-by-Step Guide on How to Paint Your Own Photorealistic Paintings.
Read a current and historical overview of Photorealist painting techniques and methods. It is beneficial to familarize yourself with this information before you embark on your own journey to create photorealistic paintings.
Familiarize yourself with the Photorealist art movement by reading my overview of Photorealism.


