Photorealistic Painting Techniques
This is Page 14 of a 15-page guide explaining how to paint photorealistically.
Congratulations! You've nearly made it to the end of How to Paint Photorealism: A Step-by-Step Guide on How to Paint Your Own Photorealistic Paintings. (Or perhaps you just got here? Click the link above to be taken back to the beginning.)
On this page we'll do a quick review of the photorealistic painting techniques discussed previously in this guide, with visual examples.
So, let's examine the still life painting below. We'll watch this photorealist painting evolve, and discuss the techniques used to bring it from this stage to the completed stage.

In this first picture, the painting is in the underpainting stage. The main areas of color were quickly blocked in. Getting details exactly right is not important at this stage. For instance, the shadows and forms are not perfectly outlined, and there is paint overlapping into parts where it shouldn't be. The underpainting is supposed to look like this at this point, because the main objective is to quickly record in paint all the visual information you need. The next step is refinement via mixing the correct colors and glazing.

In this second picture, you can see that the painting starts tightening up. The turquoise background has been painted over so that it is now a smooth color (compared with the previous photo, in which the turquoise paint quickly covered a red background, which I opted against). The shadows falling on the turquoise background have now been correctly shaped. Work has begun on the wooden man in the little red car. His head and hat are finished - blended to perfection with the process of acrylic glazing.

In this third picture, the little wooden man and his car are finished. The technique of acrylic glazing allowed me to build up many subtle, translucent layers until the objects began to have a 3-D effect. After building up and blending together the layers of the car, I added a few subtle streaks of watery raw umber to create the illusion of wood grain (same with the face of the man). The Play-Doh jar is now starting to take shape, gaining all the appropriate shadows and highlights. The green tabletop has been painted to near perfection (still needs a few touch-ups before it's finished).

Here we have the finished painting! More subtle glazes were added to complete the Play-Doh jar. The Weeble (the funny little object on the right) hadn't been touched since the underpainting, so most of the attention went towards making it come together. The final touches were put on the shadows falling upon the green tabletop. Voila, the painting is finished!
Well, almost. The last step is a very important one: varnishing your painting!

Read More
Read a current and historical overview of Photorealistic painting techniques and methods. It is beneficial to familiarize yourself with this information before you embark on your own journey to create photorealistic paintings.
Familiarize yourself with the Photorealist art movement by reading my overview of Photorealism.
The books below are available on Amazon. As an Amazon Associate I earn from qualifying purchases.
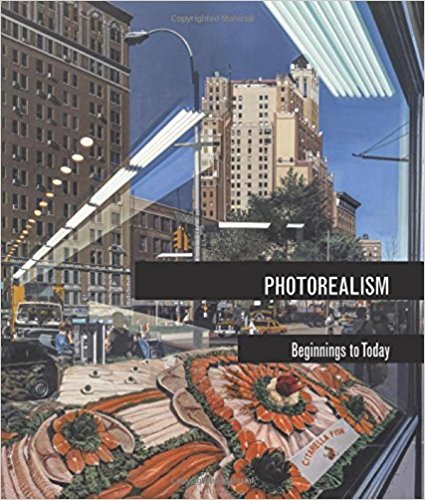
Photorealism: Beginnings to Today
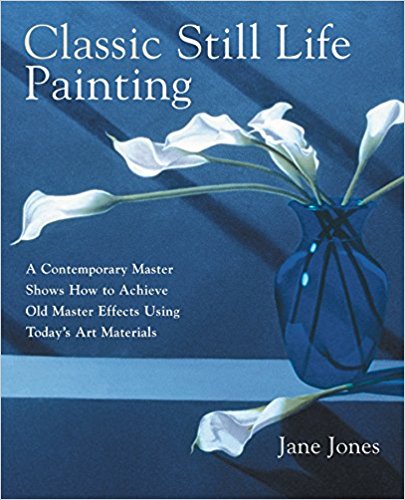
Classic Still Life Painting
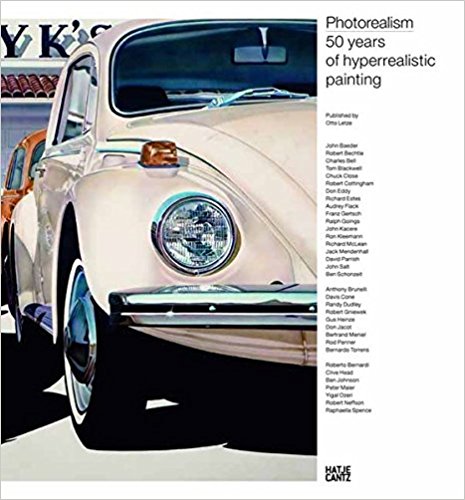
Photorealism: 50 Years of Hyperrealistic Painting


