How to Paint Photorealism
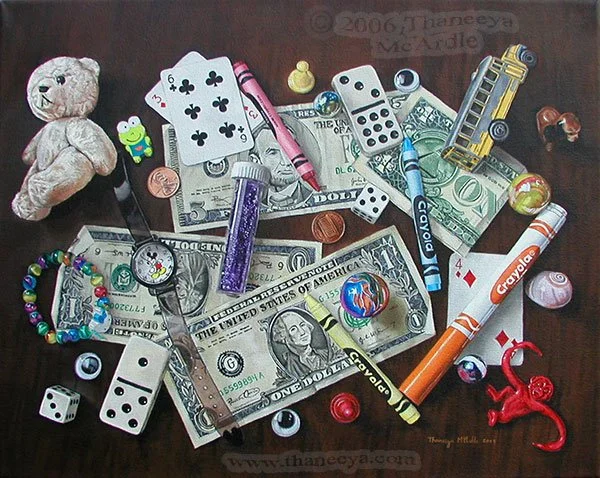
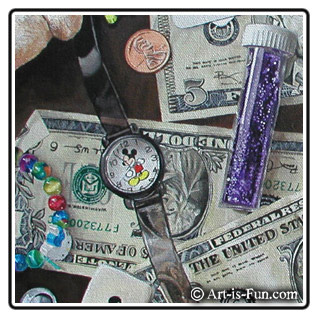
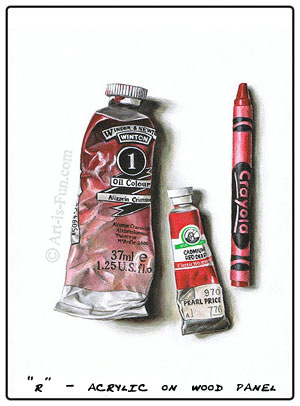
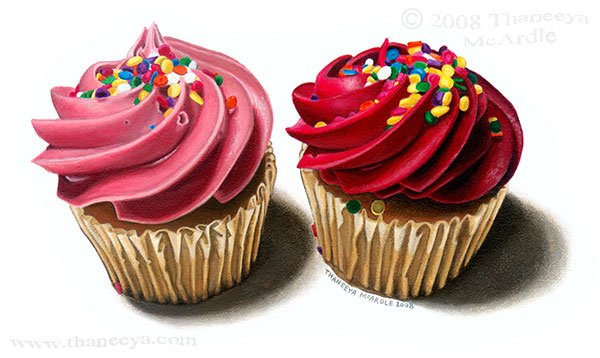
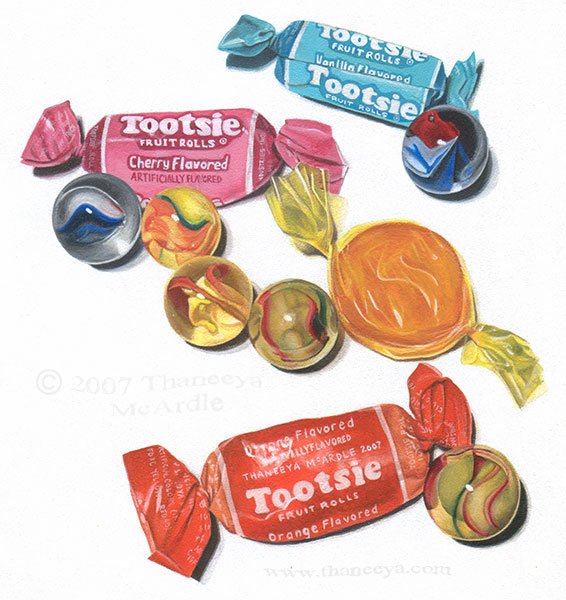
If you want to learn how to paint photorealism, these next few pages will walk you step by step through the photorealist painting techniques that I use to create my photorealistic paintings, such as the ones below! This is just a small selection - you can see more of my photorealist work on my art website.
This step-by-step guide may be an equally interesting read for non-artists who have a deep appreciation for photorealist art and want to understand how photorealist paintings are created, from start to finish.
There are many mediums an artist can use to paint (or draw) photorealistically. The most common are oils, acrylics (paintbrushed or airbrushed), watercolor, graphite, colored pencil, pastel, and even alcohol markers. The majority of my photorealist work is done in acrylics using a paintbrush (as opposed to an airbrush), although I have used watercolor and colored pencil as well. For the purposes of this write-up, I'll focus mainly on acrylics.
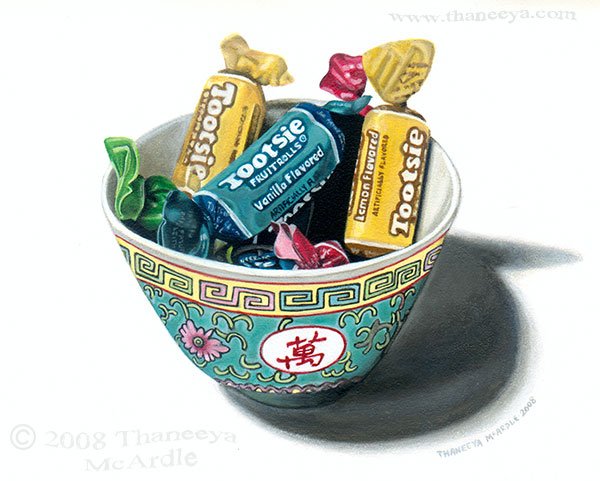
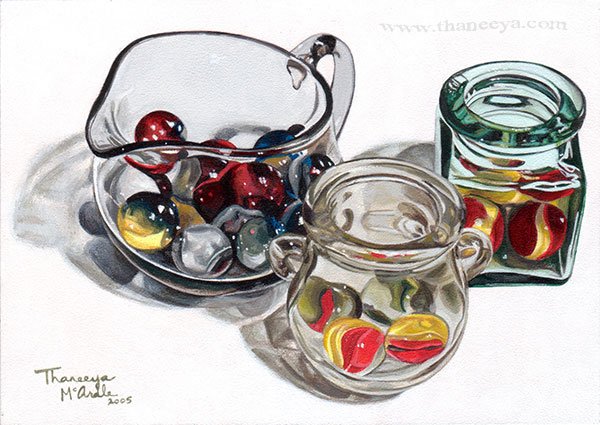
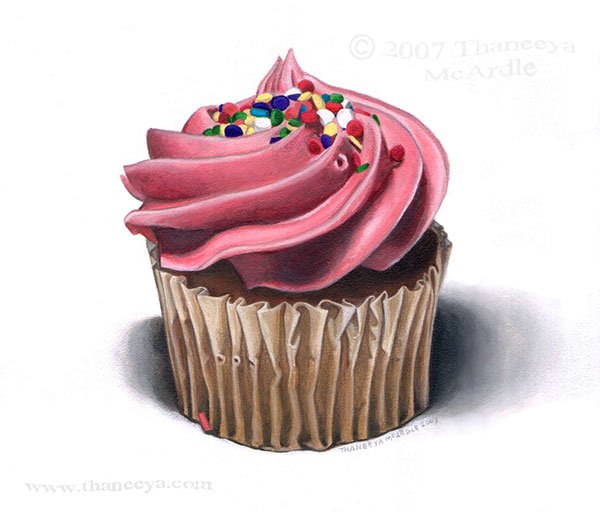
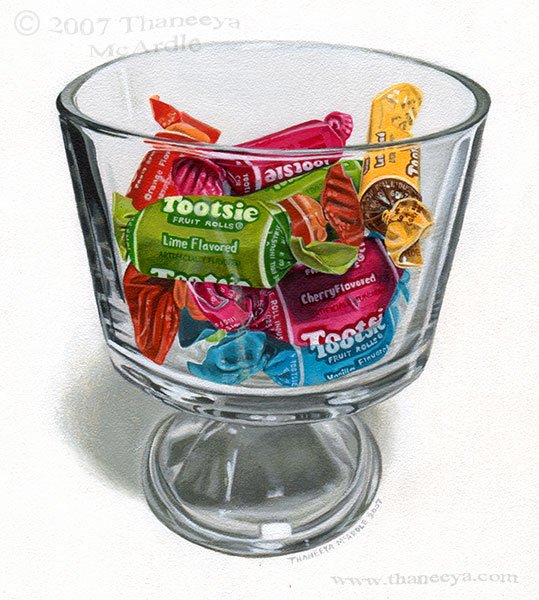
How to Paint Photorealistic Acrylic Paintings
Table of Contents
- Materials: Acrylic Paints
- Materials: Acrylic Mediums
- Materials: Paintbrushes
- Materials: Surfaces
- Materials: Reference Photo
- Materials: Varnish, Palette, etc.
- Transferring the Reference Photo
- How to Transfer the Photo: Projectors
- How to Transfer the Photo: Grid Method
- How to Transfer the Photo: Transfer Paper
- Getting Started: Underpainting
- Mixing Colors & Color Tips
- Acrylic Glazes & Blending
- Review
- Varnish
Part 1: Art Supplies
Part 2: Transferring the Photo
Part 3: Paint!
Special Tips: How to Paint Glass Objects Photorealistically
Who Am I?
I am a self-taught Photorealist painter, focusing primarily on photorealistic still lifes. I especially aim to depict objects that are extremely detailed, such as currency and reflections in glass. You can see some of my paintings on this site, and more on my website.
Because I'm entirely self-taught, I'm intimately aware of all the ups and downs, trials and tribulations of creating photorealistic artwork. I've learned a lot along the way - especially learning from my mistakes - but most of all, learning from practice and persistence. Photorealist painting is not easy, as it takes a certain amount of time, energy, concentration and skill - but the rewards are immeasurable!
Over the years, as I applied myself steadily to my artwork, my knowledge of the materials and understanding of the photorealistic painting process increased. I'm delighted to share with aspiring photorealist artists all the jewels of knowledge that I have acquired over the years - such as which materials are best to use, how to mix colors and create glazes, and which methods will produce the best results.
When I was starting out in the world of photorealistic painting, I couldn't find any guides for how to accomplish what I wanted. So I'm hoping that this guide on how to paint photorealism will help other aspiring photorealist artists understand what to expect and what to do on this wonderful artistic journey!
You can read more about my personal philosophy regarding Photorealism on my website.
How to Paint Photorealism: A Step-by-Step Guide on How to Paint Your Own Photorealistic Paintings is split into 3 parts:
Materials
Transferring the photo
Paint!
Each of these sections is of equal importance, so be sure to read all of them. In Materials, I explain what brands are best, and what art supplies will be most beneficial towards your aim of creating Photorealism. I'll discuss important things like brushes and acrylic mediums, as well as which surfaces are the best to paint on and why. I'll explain the art of capturing a good reference photo, and then how to use it.
Transferring the photo examines the 3 main ways you can transfer the photo to your work surface: by projector (opaque, slide or LCD), via the grid method, or by using transfer paper. I'll explain the pros and cons of each, so you can more easily decide which method is best for you.
Finally, Paint! This is where all the preparation from Parts 1 and 2 starts to pay off, and also where the most difficult work begins. I provide tips, hints and techniques for how to paint photorealism in acrylics. This section includes information about what to expect, pitfalls and problems you may encounter and how to handle them.
If you're eager to get started, here's the list art supplies for photorealist painting. Look over the list, then click on them one by one to find out more information about each!
Materials
acrylic medium such as glazing liquid or retarder
paint brushes of various sizes
surface - canvas, wood, paper, etc
To transfer the photo:
read more...
Read a current and historical overview of Photorealist painting techniques and methods. It is beneficial to familiarize yourself with this information before you embark on your own journey to create photorealistic paintings.
Familiarize yourself with the Photorealist art movement by reading my overview of Photorealism.
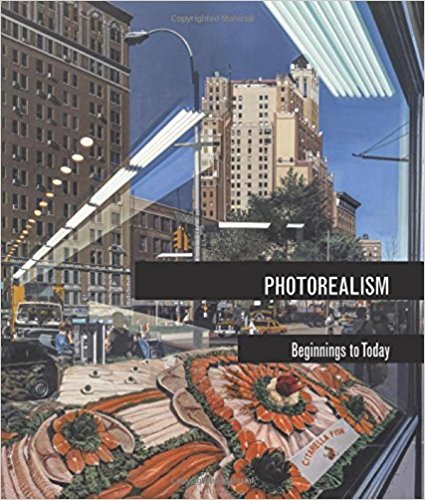
Find inspiration in the artwork of the original Photorealists:
The books below are available on Amazon. As an Amazon Associate I earn from qualifying purchases.
Create photorealism with alcohol markers
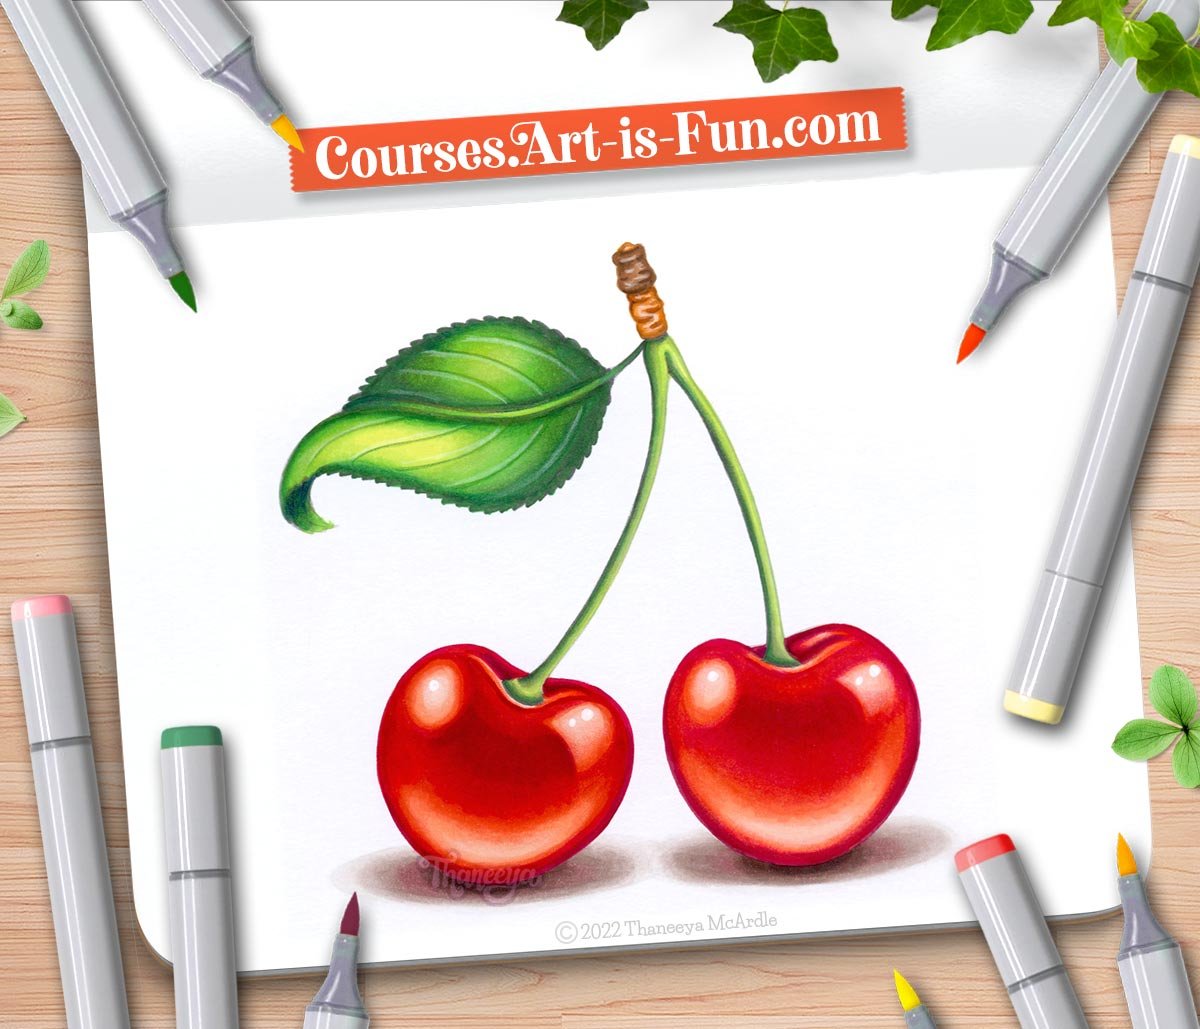
Another fun medium that can be used to create photorealistic artwork is alcohol markers! In my Ultimate Guide to Using Alcohol Markers, you’ll learn step-by-step how to create the realistic cherries shown below. Printable line art is provided so you can follow along at home, at your own pace. Learn the special alcohol marker blending techniques to create a sense of vibrant realism in your artwork!
Create photorealism with alcohol markers in Thaneeya McArdle’s Ultimate Guide to Using Alcohol Markers
You can get an overview of my alcohol marker techniques for realism in my article and video: How to Create Realistic Art with Alcohol Markers.
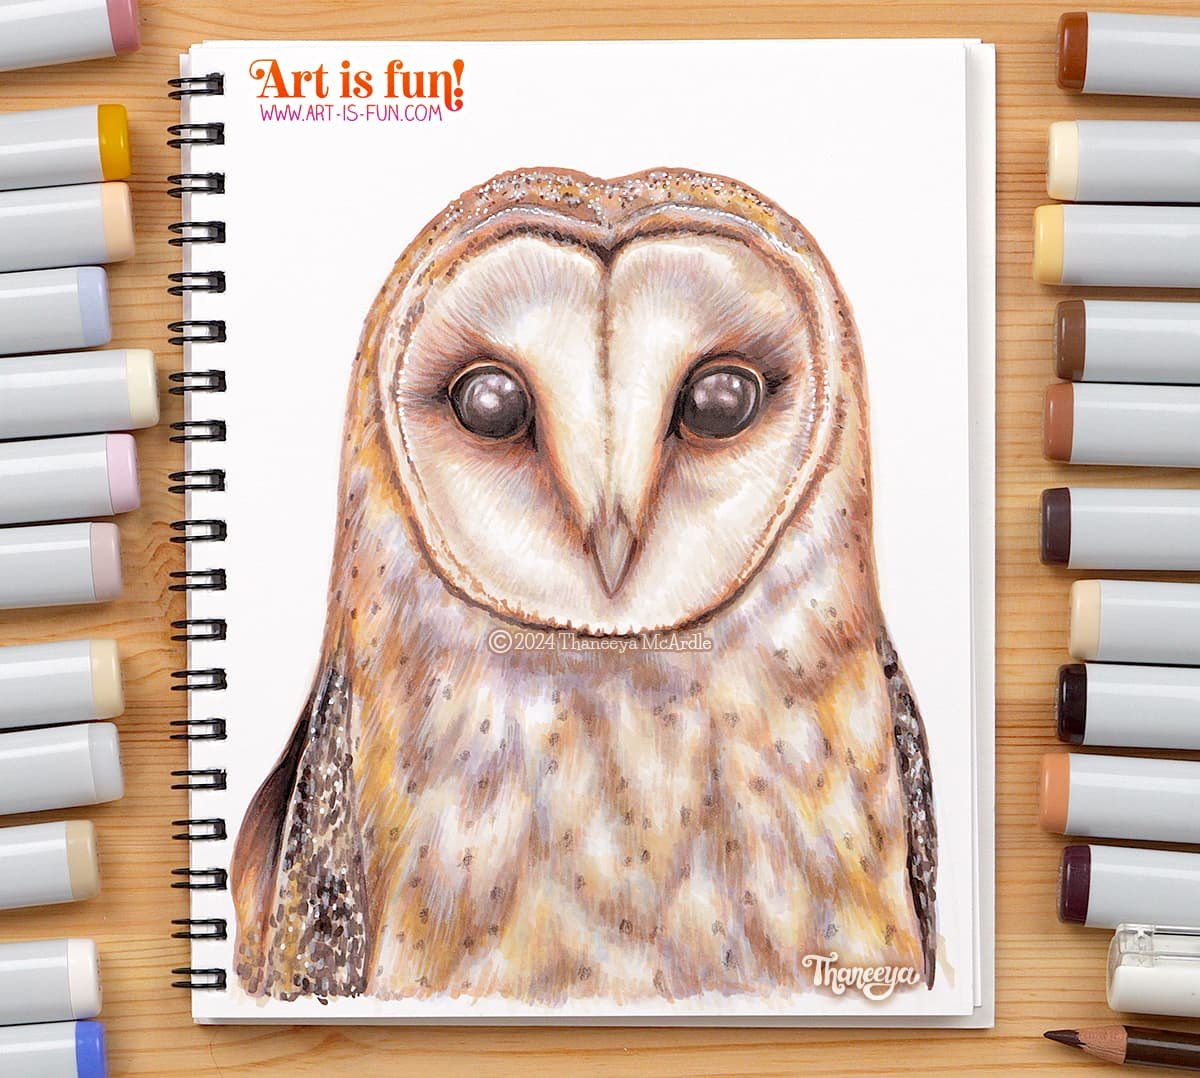
Draw a realistic owl with alcohol markers
I’ve recently created another video and tutorial to show you how I drew this realistic owl from scratch using Copic Markers:
